Practical Guide: Intercepting HTTPS Traffic with Burp Suite
Want to see what’s really going on between your browser and a website? Intercepting HTTPS traffic with Burp Suite gives you deep insight into secure web communication, which is essential for security testing, debugging, and learning how TLS/SSL works under the hood. However, HTTPS is encrypted, you will need to set things up carefully to get a clear view without triggering warnings or breaking functionality.
This practical guide shows you how to use Burp Suite to intercept HTTPS traffic, perform SSL/TLS traffic analysis, and debug secure connections, all through step-by-step HTTPS traffic interception in Burp.
How Does It Work?
HTTPS encrypts traffic between your browser and the server using TLS/SSL. To intercept this, Burp Suite acts as a trusted Man-in-the-Middle (MitM) between your browser or app and the destination server. It pretends to be the destination for both sides of the connection and tells the server it is your browser. By installing Burp’s Certificate Authority (CA) certificate and configuring a proxy, you can capture secure traffic using Burp Suite without triggering certificate errors. This works on desktops and even for those who want to intercept mobile HTTPS traffic with Burp.
Prerequisites:
- Burp Suite Installed: Use either the Community Edition (free) or Professional Edition (paid). HTTPS interception works in both.
- A Modern Web Browser: Use a dedicated browser profile (Firefox, Chrome, Edge) to avoid interference with personal browsing and simplify Burp Suite proxy configuration for HTTPS.
HTTPS Interception with Burp Suite
Step 1: Configure Burp Suite Proxy Listener
To begin SSL/TLS traffic capture with Burp Suite first set up Burp’s proxy:
- Launch Burp Suite.
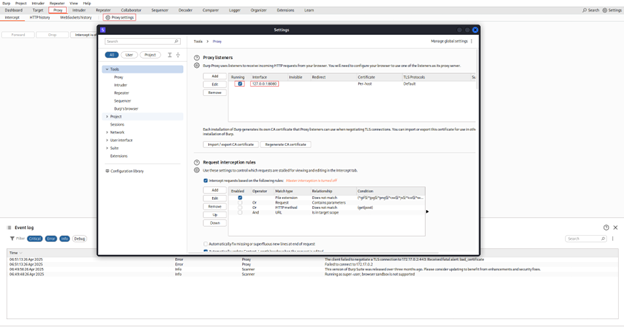
- Go to the Proxy tab, then the Options sub-tab.
-
In the Proxy Listeners section, ensure that an interface is active and running. In the Proxy Listeners section, ensure that an interface is active and running. By default, Burp listens on 127.0.0.1:8080
- 127.0.0.1 (localhost) means it only accepts connections from your own machine.
- 8080 is the default port.
- Make sure the Running checkbox is ticked. If not, select the entry and click Edit or Add to configure it, then ensure it’s running.
Step 2: Configure Your Browser’s Proxy Settings
You need to tell your browser to send its traffic through the Burp Suite proxy listener.
-
Method A (Recommended for Pro Users): Use Burp’s Built-In Browser
- Go to the Proxy tab -> Intercept sub-tab.
- Click Open Browser.
This launches a Chromium browser pre-configured to use Burp’s proxy, often bypassing the need for manual certificate installation.
-
Method B (Necessary for Community Edition or specific setups): Manual Browser Configuration
-
Firefox
- Go to Settings -> Network Settings -> Manual proxy configuration.
- Set HTTP and HTTPS Proxy to 0.0.1 and Port to 8080.
- Clear the No Proxy for
- Click
-
Firefox

-
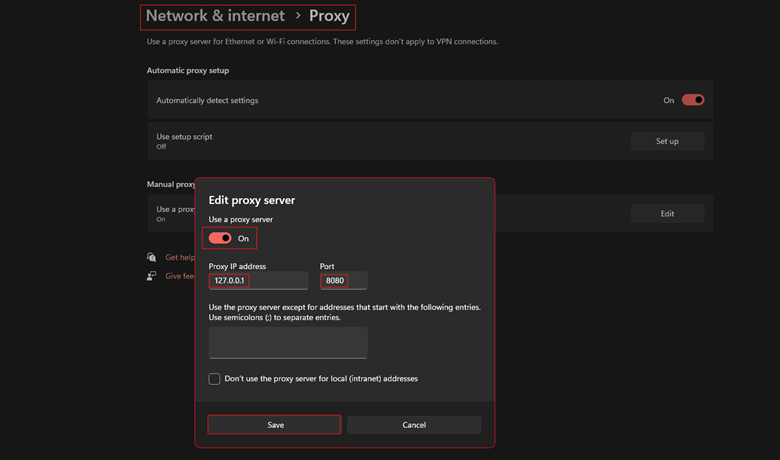
Chrome/Edge (Often use system settings)
- Go to your Operating System’s proxy settings (e.g., Windows: Settings -> Network & Internet -> Proxy).
- Enable manual proxy and set it to 0.0.1 : 8080.
- Ensure exceptions don’t block the traffic you want to intercept.
- Save the settings.
Step 3: Install Burp Suite’s CA Certificate
This is the crucial step for HTTPS. Without it, your browser will show certificate warnings and block connections because it doesn’t trust the certificate Burp presents.
- 1. Ensure Burp is running and proxy is set in the browser.
-
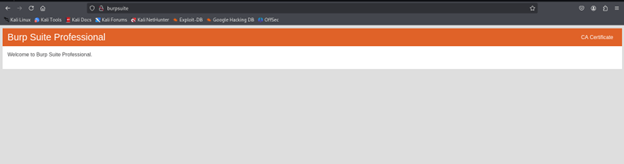
2. In your configured browser, navigate to http://burpsuite (or http://127.0.0.1:8080).
Note: Use HTTP, not HTTPS, for this step.

4. Import the Certificate into your browser:
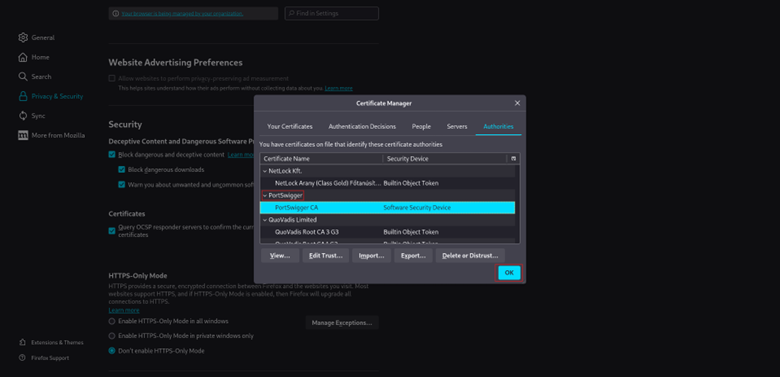
Firefox
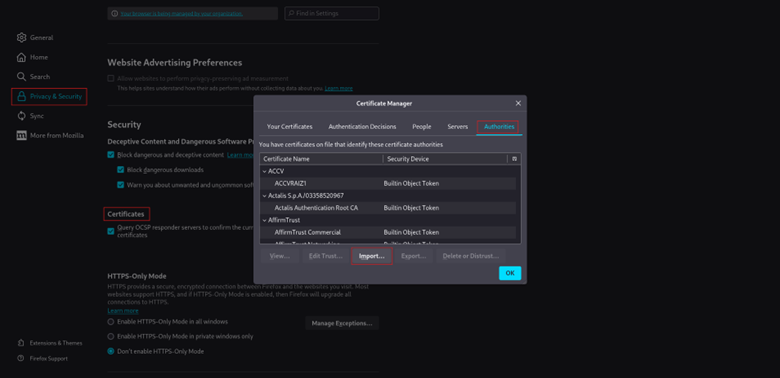
- 1. Go to Settings -> Privacy & Security -> Certificates -> View Certificates.
- 2. Go to the Authorities
- 3. Click
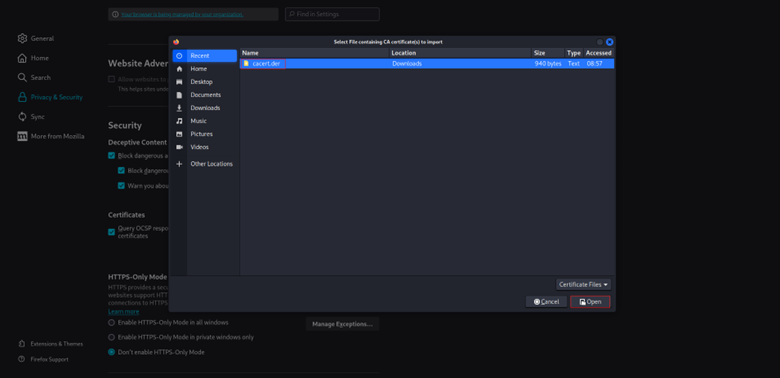
- 4. Select the downloaded.der file.
- 5. Check the box Trust this CA to identify websites.
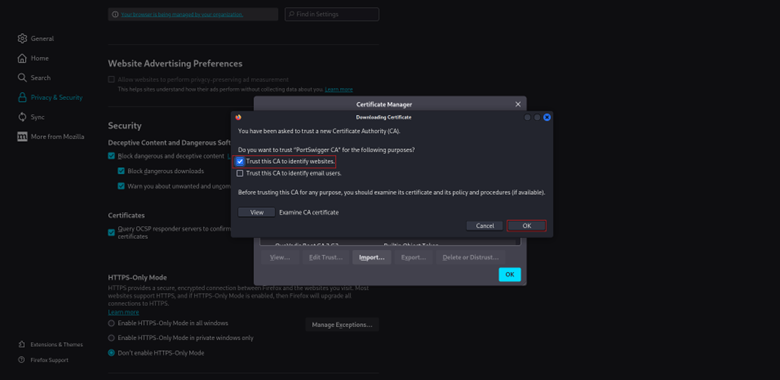
- 6. Click OK.
Step 4: Intercept and Inspect HTTPS Traffic
1. Verify Setup:
- First, try browsing to an HTTP site (e.g., http://httpbin.org). Check if the request appears in Burp’s Proxy -> HTTP history tab.
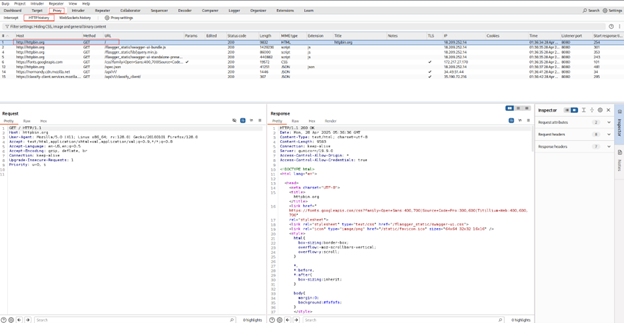
-
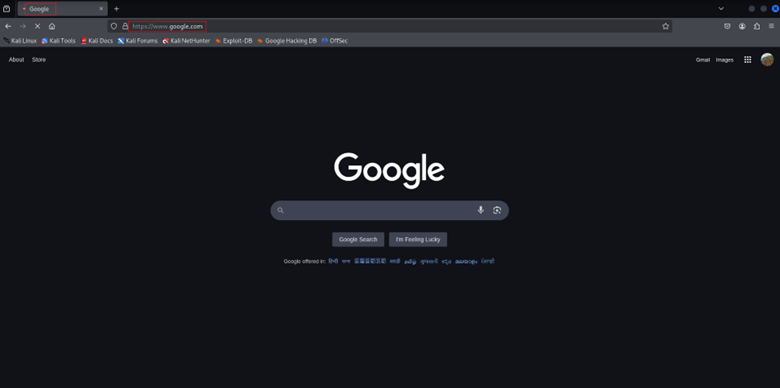
Then, try browsing to an HTTPS site (e.g., https://google.com or a specific target application you have permission for). If the certificate installation was successful, the page should load without certificate
errors, and you will see the HTTPS requests/responses in the HTTP history tab.
- The padlock icon in the browser might look different or mention PortSwigger, which is expected.
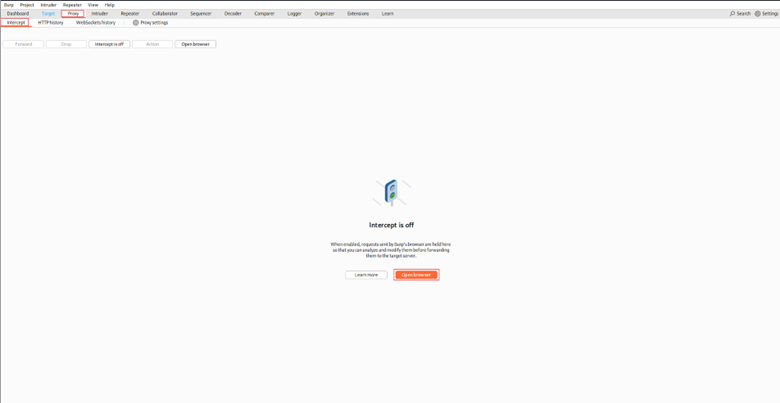
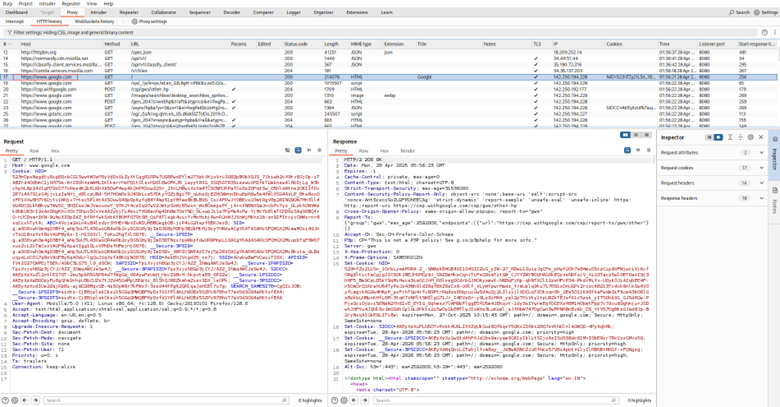
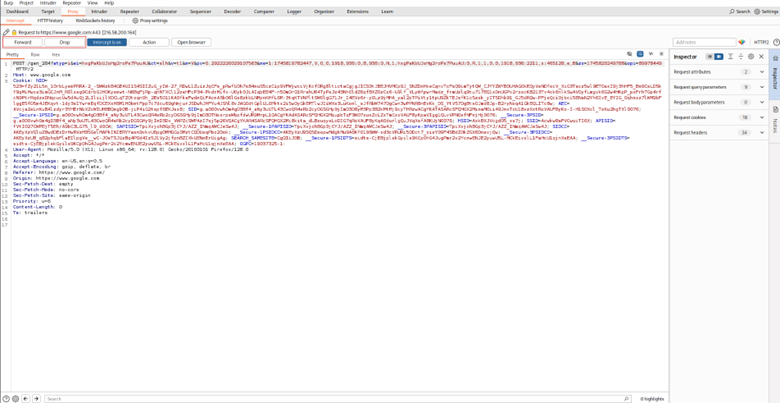
2. Enable Interception:
- Go to the Proxy -> Intercept
- Click the Intercept is off button to toggle it to Intercept is on.
3. Browse: Navigate to the target HTTPS application in your configured browser.
4. Inspect, Modify, and Forward: Each request/response will be caught by Burp before it is sent. You can:
- Edit requests (Raw, Params, Headers, or Hex tabs)
- Forward or drop them
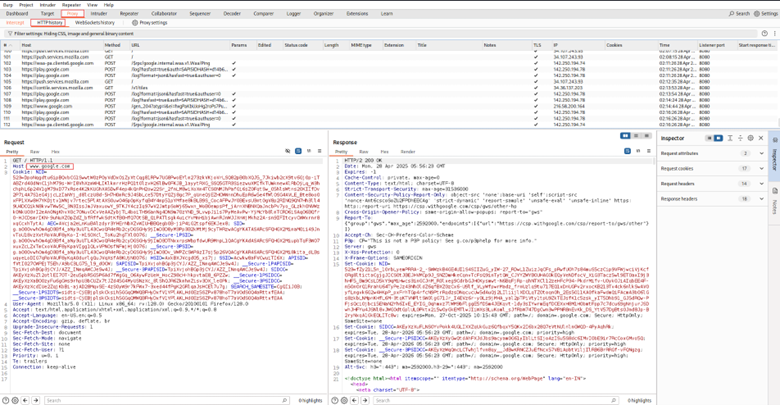
5. View History: Even with intercept off, all proxied traffic is logged in the Proxy -> HTTP history tab for later review. You can right-click requests here and send them to other Burp
tools like:
- Repeater (for replaying/modifying).
- Intruder (for fuzzing).
- Sequencer (for analyzing session tokens).
Need to Intercept Mobile HTTPS Traffic with Burp?
- Set your mobile device’s Wi-Fi proxy to your computer’s IP and Burp’s port.
- Download and install Burp’s CA cert on the mobile device.
- Trust the certificate (varies by OS; Android may require a deeper config or root).
- You’re ready to inspect HTTPS traffic from mobile apps.
Important Note: Only use this method in environments where you have explicit permission. Intercepting traffic without consent is illegal and unethical.
Check out other related: articles:
- Step-by-Step Guide for theHarvester Tool
- Steps for Effective DNS Footprinting
- The Ultimate Guide to SMTP and DNS Enumeration Practices
- Web Vulnerability Scanning with Nikto
- Mastering Network Discovery with Nmap: A Step-by-Step Guide
- What is Metasploit: A Practical Guide for Penetration Tester
- Shell GPT: A Practical Walkthrough
- Burp Suite: A Practical Walkthrough for Cybersecurity Enthusiasts
- Firewall Testing with Hping3: A Comprehensive Guide
- Session Hijacking Using Burp Suite
- Packet Sniffing with Snort: A Practical Guide
- Information Gathering using Spiderfoot: A Practical Walkthrough
How Can InfosecTrain Help?
InfosecTrain’s Advanced Web Application Penetration Testing (AWAPT) Training offers hands-on,
instructor-led guidance on intercepting HTTPS traffic using Burp Suite. Learners gain practical experience in setting up Burp Suite, configuring browsers, and analyzing encrypted traffic to identify security flaws in web applications,
enhancing their real-world penetration testing skills.
